The installation will have created a program group called Visual-TM on your Start Menu. Navigate to the program item Visual-TM and select to open the software
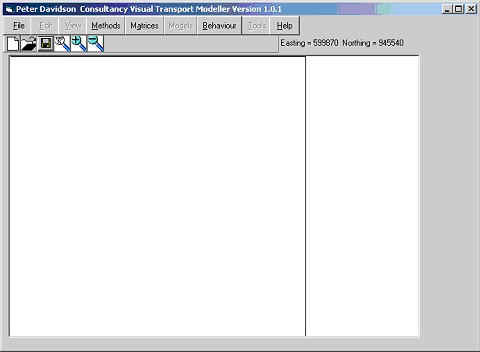
This is the opening and main screen for Visual-TM. At the top of the screen is a Menu Bar. Initially the only options you can choose are File, Methods, Matrices, Behaviour and Help.
The first stage is to open a project. Let’s begin by opening the Gulf Data Test project
Opening a project.
Either click File/Open Project on the Menu bar or click the Open Project
button  in
the Toolbar.
in
the Toolbar.
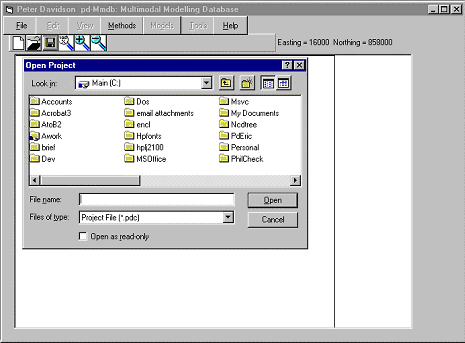
As above, the Open Project dialogue box appears. Navigate to the location of the test data that you have unzipped as a part of the installation process.
Select the Gulf Data project and locate the Gulf data.pdc file. Select this and click Open.
After a few seconds (depending on the processing power of your computer, a graphical representation of the gulf network will be built on the main form (shown below) and a new form called Project Data Structure will open. This new form can be used for navigating through your project. It will be discussed in further detail later. At this stage simply click Exit to close the form.
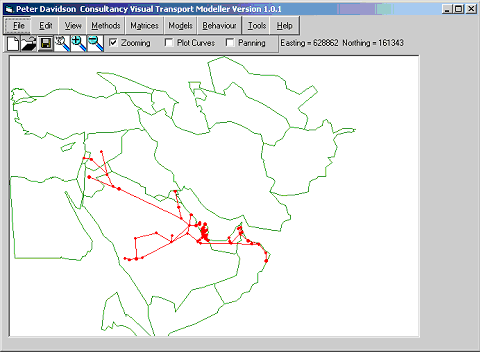
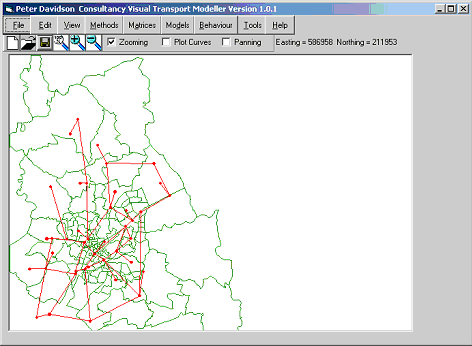
Back to the main form, you can now see the road network displayed graphically by a series of red dots and lines. Each red dot depicts a node in the network, each line depicts a link between 2 nodes. Also plotted is a background that shows the geographical location of the network.
All the Menu items at the top of the screen are now enabled and we are ready to begin. Firstly I will now explain the other tools on the main screen.
There are 3 checkboxes which when activated have the following functions: -
Zooming – This allows the user to click and drag a square on the map. When the mouse button is released the map will zoom in to show the area of the square chosen. Try it. Using the left mouse button, click near an area of interest and drag.

See how the map zooms in when released (below).

Click the Zoom 100%  button on the Toolbar to return to
the original view.
button on the Toolbar to return to
the original view.
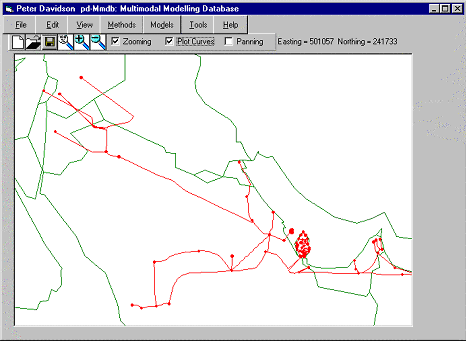
Plot Curves – As you can see, the lines currently drawn on the map are straight lines. It is possible to create a curves file that shows the actual route of the roads. Select the Plot Curves checkbox and note how the links change.
Panning – The Panning button enables the user to pan across the map at will. Highlight the Panning checkbox. Now zoom in on an area. Panning is now achieved by right hand clicking on the map and dragging in the direction you want the map to move. Try it. In a matter of minutes you should be very confident in moving around the map.
To the right of the 3 checkboxes an Easting and Northing co-ordinate are displayed. This is the position of the mouse cursor. As you move the mouse around the Easting and Northing values change. This is a useful tool when trying to locate a specific place on the map.
Data
For more information on the Structure of Data, and the hierarchical way it is stored, please refer to the Data Structure section in The Manual.
In order to best describe the different data types within Visual-TM and how to navigate through them, you need to open the Performance Test Data Set.
As described in The Basics, open the project by navigating to the location of the test data, find the Performance.pdc file, select and click open.
The network is drawn with a background (above) and the Project Data Structure Form opens (below)
The quickest and easiest way to view the complete data structure within a project is to use the project data structure form.
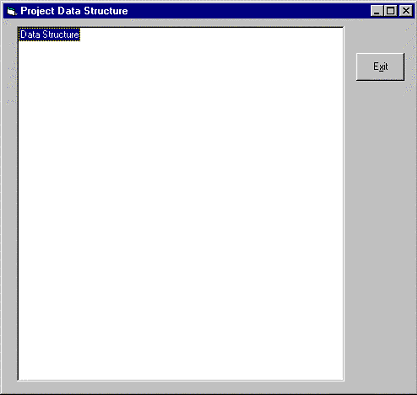
In this form you can currently see “Data Structure”. Double
click on it to expand. This
now shows the databases loaded into this project. Simply
click on the  signs to expand further.
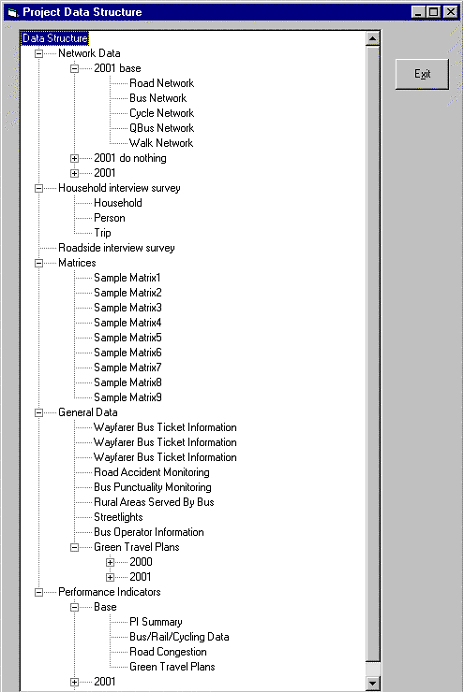
Once the entire data structure is visible (above) you can double click on a specific data item. This will then open the Dataviewer and display the data that was selected.
The Dataviewer
To open the Dataviewer at any stage, simply click View/Database on the main Visual-TM form.
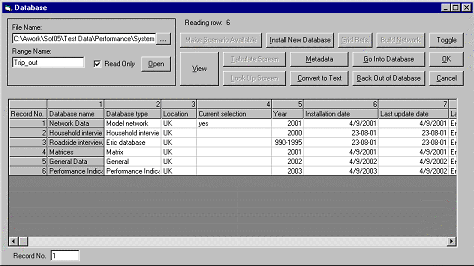
The Dataviewer operates within Visual-TM where it holds the actual data as a consistent set of databases. It provides tools for viewing, editing, adding additional fields, tabulating and outputting data as well as for calculating performance indicators.
The databases comprise data tables in a hierarchical data structure with up to ten levels of data table, each level nested within the next level in the hierarchy. The nesting is also branched to other tables so that a table at one level can point to many tables at the next level down. Each record in the table can have a field containing a path and filename of the data table at the next level down that the user can go into.
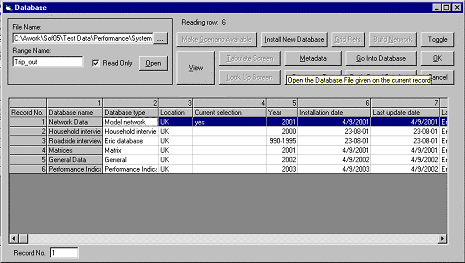
To navigate through the data tables simply select the database type you wish to view (above) by clicking on the database name field, then click Go Into Database. Click Back Out of Database to reverse.
Editing data through the Dataviewer is achieved by clicking the View Button. This opens the View form (below). Here you can simply edit data stored in any of the records by typing the required changes into the fields. Use the Record Navigator section at the bottom right to choose which record and which field you wish to edit.
You can also Add New Records or Delete Existing Records by clicking on the appropriate button on the View form. Remember to click OK to save any changes made when existing. Click Exit to return to the Dataviewer without saving changes.

Using the Dataviewer it is possible to open many types of file, even
if they are not included in your nested hierarchy structure. At
the top left corner of the Dataviewer you can click on the  button
to browse to your required file. Select
the appropriate range name and click open. This
file can then be edited and viewed in the way mentioned above.
button
to browse to your required file. Select
the appropriate range name and click open. This
file can then be edited and viewed in the way mentioned above.
As you can see, lots of types of data can be stored in Visual-TM. These data types tend to conform to one of the following standard formats: -
These are covered in their respective sections.